Using Ultrasound for Nondestructive Testing of Materials
Ultrasound is sound or other vibrations at frequencies higher than the upper audible limit of human hearing. It is used in various applications, including medicine, nondestructive testing, object detection, distance measurement, etc.
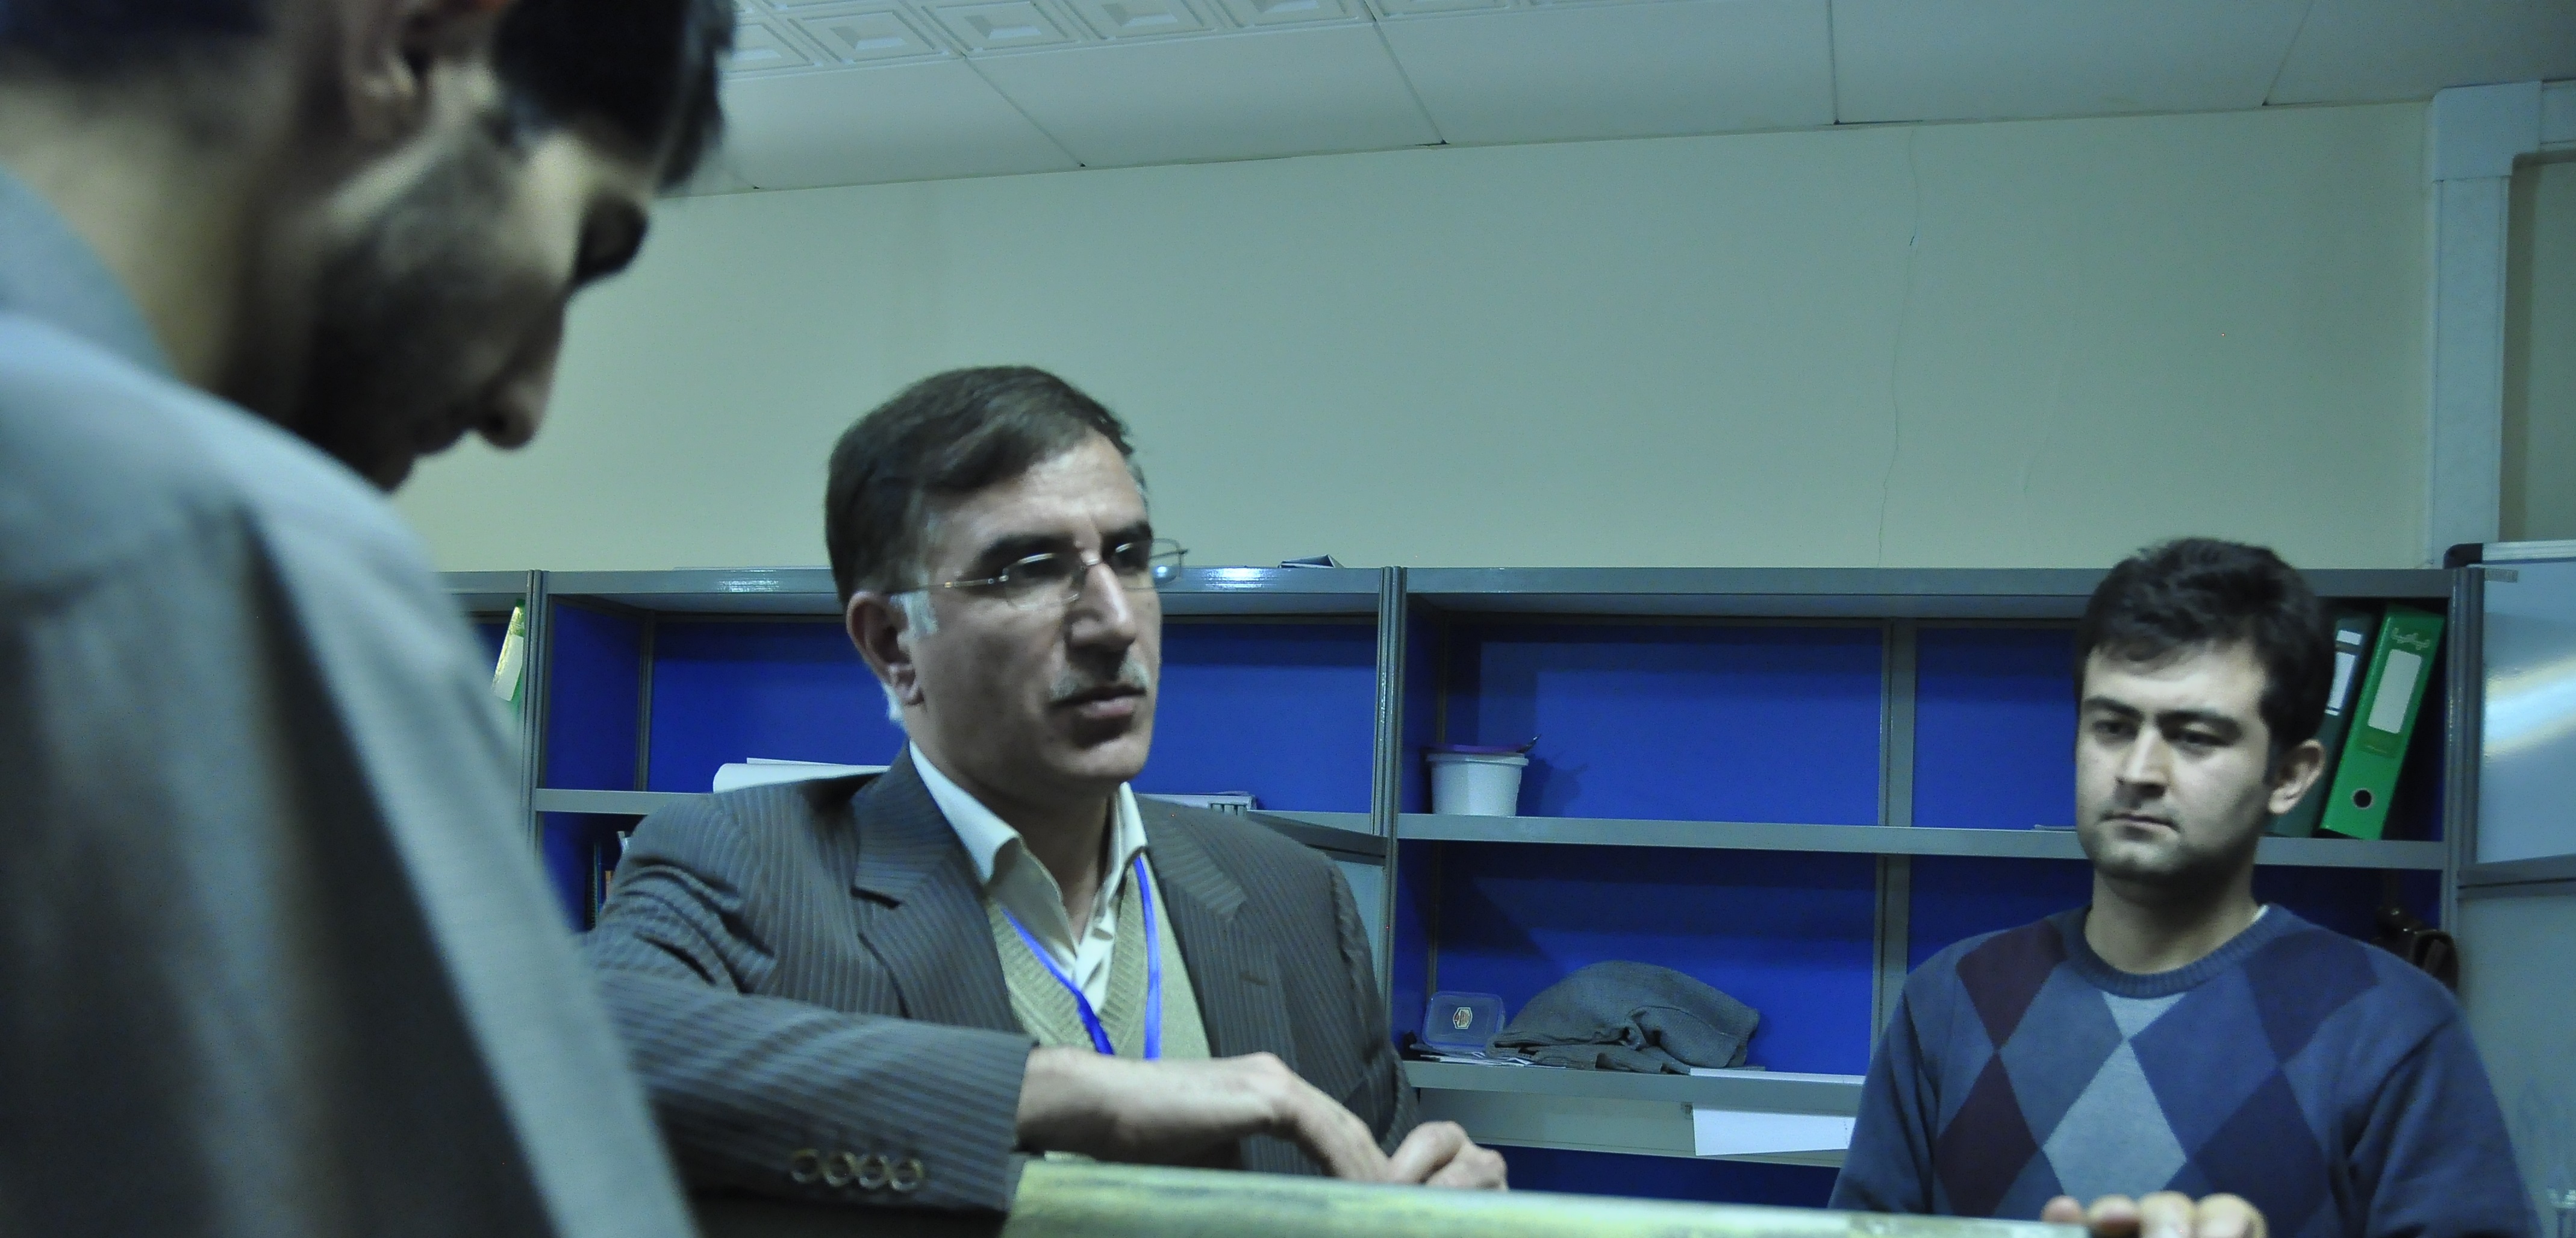
This article describes a project devoted to the application of ultrasound to the nondestructive testing of materials. This project was carried out at the Nondestructive Evaluation Laboratory (NDE Lab) of K. N. Toosi University of Technology in collaboration with the Ultrasonic Testing Lab (UTL) of the University of Toronto.
NDE Lab is one of the leading NDE research centers in Iran with advanced ultrasonic testing facilities. It is directed by professor Farhang Honarvar who is one of the founding members and the first president of the Iranian Society of Nondestructive Testing (IRNDT).
 Nondestructive Evaluation (NDE) is the science and technology of development and application of technical methods to examine materials or components without incurring any damages to them and affecting their future serviceability. In the industry, it is usually called Nondestructive Testing (NDT) or Nondestructive Inspection (NDI); however, in academia, it is mostly referred to as Nondestructive Evaluation (NDE) which is a more quantitative term. NDE includes various methods, each of which is based on a different physical phenomenon such as sound waves, electromagnetic waves, magnetism, eddy currents, capillary action, thermal waves, etc. Some of the well-known NDE techniques are Ultrasonic Testing (UT), Radiographic Testing (RT), Magnetic Particle Testing (MT), Liquid Penetrant Testing (PT), Eddy Current Testing (ET), Acoustic Emission (AT), and Infrared Thermographic Testing (TT).
Some of the advantages and disadvantages of ultrasonic testing as a method of nondestructive evaluation are as follows:
Advantages:
o A safe and harmless method of testing,
o Can penetrate deeply into materials (several meters in most metals),
o Highly sensitive and very accurate,
o Can be used on almost all types of materials,
o Tests can be carried out with access to only one side of the test piece,
o The test results are readily available,
o Results can be saved and further processed.
Disadvantages:
o Needs a high degree of operator skill and integrity,
o Relatively expensive,
o Access to the surface of the test piece is required,
o A point-by-point inspection method,
o A coupling material should be applied to the interface between the probe and test piece,
o Might not be applicable to components with complex geometry.
The focus of the current project is on the detection of corrosion defects in metallic plates by the ultrasonic testing method.

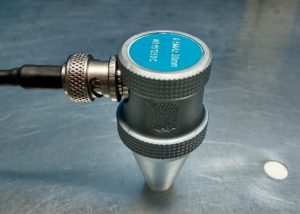
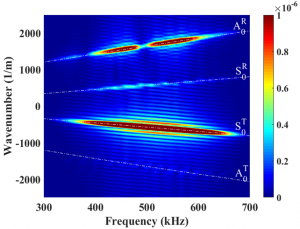
In ultrasonic testing, high-frequency sound waves are directed into the material by piezoelectric transducers, and the interactions of these waves with various defects and surfaces inside the structure are picked up and analyzed to evaluate the integrity and health of the test piece. The ultrasonic testing technique used in this project incorporates Lamb waves for testing plate-like structures. Lamb waves are guided waves that can propagate through plate-like structures such as thin plates, shells, and pipes. The generation of Lamb waves is a challenging task since Lamb waves are both dispersive and multi-modal. The dispersive property of Lamb waves means that their velocity is a function of frequency, and their multi-modal nature indicates that these waves can exist in the form of one of their infinite number of modes. Therefore, generating a Lamb wave mode is not so easy, and sometimes the modes are so close in frequency that one cannot create an isolated single Lamb wave mode. One of the contributions of this project is the proposition of a new method of generating Lamb waves. In this new method, the desired Lamb wave mode is generated by a normal-beam ultrasonic transducer mounted on a frustum delay line. The use of a frustum makes it possible to generate an omnidirectional Lamb wave mode that covers a large area of the plate.
Another significant contribution of this project is the development of a measurement technique for the detection and sizing of corrosion damages in plates. A mathematical algorithm is developed that combines the data obtained from three Lamb wave measurements around the defect and estimates the size and location of the defect from this data. This new measurement technique is more cost-effective and faster than other existing techniques and provides a better or similar level of accuracy compared with other existing measurement techniques.
This study includes both numerical modeling and experimental measurements to show the efficiency of the new measurement technique. The results show that the location and size of defects can be estimated with an accuracy of 5% or better.
The newly developed measurement technique can be used in oil and gas industries for measuring corrosion damages on plate-like structures such as large tanks, vessels, and pipes. It can also be used as an effective tool for testing airplane structures to detect vital defects, such as fatigue cracks resulting from the dynamic loading of rivets.


